Showing posts with label Craft Tips. Show all posts

Monday, September 17, 2012

JoAnn's Coupon Commotion! Six 50% off coupons!

Print All 6 Coupons.

If you are starting to feel the crafting itch like I am and want to get a head start on Holiday Handmade Decor, here are a ton of coupons from JoAnn's for this week to help get you started!

Go HERE to print all 6! Wahoo! 

What crafting projects do you have in mind?


-------------------------------------------------------------------------
Be Sure to enter my $500+ Value Giveaway too! 
Pin It

Monday, July 9, 2012

JoAnn's St. George BLUFF store relocating- SALES!!

So if you haven't heard already, JoAnn's on Bluff is moving! The Bluff location will be closed on July 26th and the new location out by Kohl's(where the old Robert's Crafts was) will be opened the following day July 27th!

Right now the Bluff location is said to have some great deals- no coupon needed! And I'll bet they will have a GRAND OPENING sale too at the new location so get signed up for their news letter or visit the store on Bluff before it closes for more information!

*The email newsletter sign up is off to the bottom right of the website, so just scroll down to see it!
Pin It

Monday, July 2, 2012

3 Sewing Classes and $50 for supplies! Only $35! Northern Utah!

THIS DEAL ENDS SOON!!
Three One-Hour Sewing Classes Plus $50 to Spend on Fabrics, Sewing, and Quilting Supplies
SOOOO WISH I LIVED IN NORTHERN UTAH!! 
This picture just makes me drool with delight and jealousy!! 
(Forgive me, I am not supposed to be jealous, lol.)

I LOVE to sew but I always want to learn more and become better and better at it! With this deal you can do that AND get an awesome deal on fabric and supplies!

I mean seriously, what crafter or seamstress wouldn't LOVE THIS! Please go do it for me and have fun, take all the girls- young and younger(We are all young right?!)

Go NOW and buy it! HAVE FUN FOR ME!
-------------------------------------------------------------------------------------------------

While you are visiting be sure to enter the following giveaways:


Pin It

Friday, June 29, 2012

$1 Flip Flop Sale- Old Navy

REMINDER: This is TOMORROW :)
And if you'll be shopping for more stuff while you are there, go to their FB page for a $15 off $75 or more coupon! (Or if you plan on buying 75 pairs of flip flops, lol!)

OK, before I forget June 30th is the big $1 flip flop sale at Old Navy! Time to STOCK UP! : ) 
Seems as though we can never have enough flip flops around our house! And it's also a perfect time to try out some of those cute up-cycled flip flops too! 

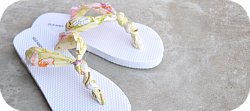
Like these!


Go HERE for a tutorial and more ideas on how to up-cycle your $1 flip flops!

---------------------------------------------------------------------------
While you are visiting be sure to enter the following giveaways:


Pin It

Tuesday, June 26, 2012

Frog Tape Wins this War! Kitchen Table Redo!

Our poor table was in dire need of a refinish on top. 

We got our dining set for free when we were engaged. We decided to try and paint it ourselves and it helped... but let's be honest, WE HAD NO IDEA HOW TO PAINT! 


We were told to use a latex paint, DON'T do that! It is really like a stretchy latex material and peels off! And it is terribly hard to clean, especially if you don't know that you should use a finishing coat of gloss! We didn't! LOL... so naive to the painting world... we have learned a lot since then!

We had put a clear vinyl sheet over the table to make it easier to clean, the only problem was when I went to remove the vinyl, it pulled off the paint... such a natural distressed look... buuuut a little tooo distressed!

Well, here is the new look! 

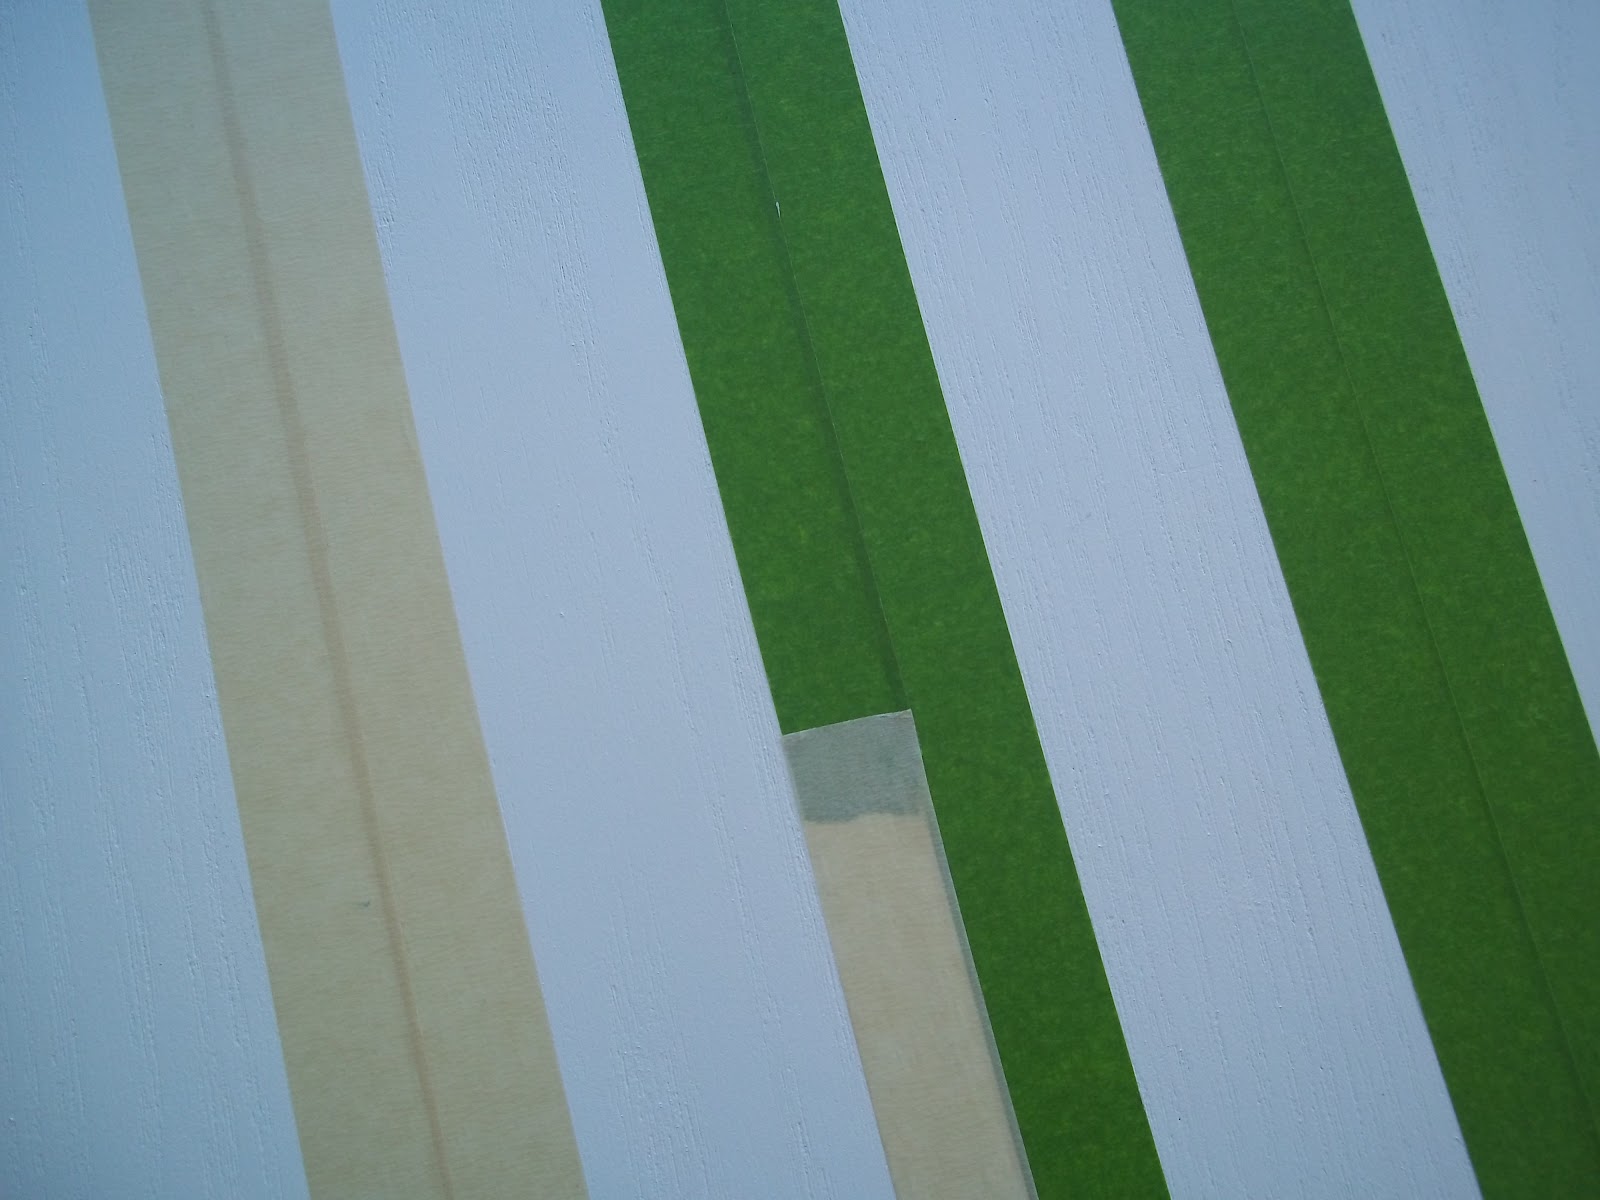
I ran out of my green Frog Tape but had some Scotch Painters tape so I had to use that to finish off the stripes. As you can clearly see, Scotch Painters Tape DOESN'T work.

 Frog tape did a much better job but I still with there was something better.... 
Anyone have any tips here?

GUESS WHAT OUR FIRST MEAL WAS AT THE NEW TABLE?!! 
Leave a comment and I'll reveal the answer tomorrow!
---------------------------------------------------------------------------
While you are visiting be sure to enter the following giveaways:

Pin It

Chic Cheap Flip Flops- Sewing/Crafting Project


With the Old Navy $1 flip flop sale coming up this week, this is a perfect time to try out a Flip Flop Craft project. This can be done with just some scraps so I give this project a total of about $2 at most! Wahoo!

Here is a step by step Tutorial of the ones I made for my girls for Easter.

Step 1) Make double sided triangles that fit the space of the front straps on your child.

Step 2) Sew the triangles together accept at the point

Step 3) Sew a piece of elastic in the tip, length depends on your childs foot size. You can always go short if you make it too long...  but you can't go longer.

Step 4) Cut fabric for ruffles. I folded mine in half so there would not be strings coming off the edges. I did about 3" wide and length depends on the size of flip flops

Step 5) Sew the smallest ruffle on first then the next smallest. Repeat until all ruffles are sewn to the top of the triangles

Step 6) Use bias tape to trim off the top of the triangle and sew another two strands of elastic- you'll need to measure on the foot to see exactly where you want the strands to be- this will allow the flip flops to have an ankle strap. 
*If you do not want an ankle strap, just use the bias tape and sew it shut along the top of the triangle and leave extra length to use as side straps(instead of using elastic and wrapping bias tape aroung the ankle)

Step 7) Cut off all straps from the original flip flops- apparently I forgot pictures of this part...

Step 8) Pull elastics through the holes in flip flops- adjust until they fit your child's (or adult's) foot, then tie a knot on bottom

Step 9) Use hot glue to fill in the bottom of the holes, make sure you fill it and make it flat so you aren't walking on knots.

Step 10) Let glue dry and WEAR YOUR NEW FLIP FLOPS!
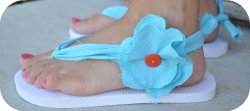
Also check out these ideas from The Mother Huddle too! Love them!

Thumbnail image for Tutorial ~ Key West Flip Flops & Rock The Flop LinkyThumbnail image for Tutorial ~ The Knot So Hard Flip Flop Diy


---------------------------------------------------------------------------
While you are visiting be sure to enter the following giveaways:

Pin It

Tuesday, June 19, 2012

BOGO Washi Tape for the crafters out there!

Rubee Lane has a great deal for all you crafters out there! Washi tape (one of the hot trends in crafting) is buy one get one free, only $1.75 for two!!! (An $8 value for $1.75!)

Buy One Washi Tape Get One FREE!!!!

There is a $2 shipping charge but at this price it's still a great deal!
I've seen cute crafts like easy picture frames, bracelets, purses, and I'm sure you could make so much more! 
They also great for accents in a scrapbook!


While you are visiting be sure to enter the following giveaways:


Pin It

Tuesday, June 12, 2012

My Craft Project with FREE ACE PAINT!

*For details on getting FREE paint go here!

I totally forgot to take the BEFORE picture but lets just say it was sad! It was a light boy blue and had writing and stickers and a phone number on it! I got it for free when I purchased another dresser off of Craigslist. I KNEW it could be cute. Originally I was just going to go with white and distressed for a universal look in one of the kids rooms... then we moved into our tiny apartment and we needed something to hold miscellaneous tools... and it sits on our back deck. 

I'm in the middle of redoing the back deck area... it's taking longer than I want... due to unpleasant surroundings... (SMOKE)... that's another story in and of itself. I believe that if you choose to harm yourself, fine but with smoking you are harming everyone around you! Anyway, this is the first real change to the back deck.

So here is the finished product(without handles just yet)...


Here is how I did the stencil(with vinyl cut out from my Cricut)...

And this is the crappy paint(yellow) it bled so bad but we'll just say that it is distressed :)


And here is where I used the free paint from Ace (orange and turquoise)- worked FABULOUS not perfect but WAY better than the yellow!

I bought the crappy paint at 50% off at Wal-mart a long while back but it still may have been TOO much! 
The yellow ColorPlace paint was very watery, runny, and even a bit see through because the color went on so thin while the Clark + Kensington was thicker and full of color nor did it run so much. I did need to make the vinyl stick a bit better in some areas though.

What are your painting or crafting tips?

While you are visiting be sure to ENTER the following GIVEAWAYS:

Carri's Creations $20 Gift Card

One pair of Lace Leggings from Baby Be Jeweled
Pin It

Guess what FREEBIE is BACK AGAIN! -MY FAV!

I just don't get sick of this FREEBIE!!! LOVE LOVE it!
Profile Picture
Ace Hardware is at it again! I just LOVE them! I hope you do too and that you let them know it!
Go to their FB page, like them and print your coupon for a free quart of paint this Saturday!


I'll post soon my first project I did with my other free quarts of paint : ) And the difference this paint makes! It is really high quality paint... I learned first hand!


While you are visiting be sure to ENTER the following GIVEAWAYS:

Carri's Creations $20 Gift Card

One pair of Lace Leggings from Baby Be Jeweled
Pin It

Friday, March 4, 2011

Getting Creative...

A thrifty way to change your home decor completely is with paint! Do you remember this project of mine? My LCD TV Stand (aka my hideous entertainment center) needed much love. I was never a fan of the thing anyway and since we don't own a fancy tv I didn't think I should buy a new LCD tv stand yet.

So it went from this...
To this...(sorry about the horrible photography skills and bad back ground cinderblock walls!... student housing... it's great...we only had dim wall sconces for lighting... hence another reason for a bad photo... glad to be outta there)
I used about 6 cans of Ocean Blue Krylon spray paint and a bit of brown craft paint, antiquing glaze, and some glossy finishing glaze, total was about $30 for a complete transformation and one of a kind look. The great part is I have left over glazes and paint for other fun projects too! This was my first attempt to redo a piece of furniture but I have been contemplating many more!
Pin It

Monday, August 30, 2010

Simple Craft Savings Tips

Hey there! This post will be quick but I wanted to let you in on a few things I have learned leately when it comes to crafts....

1) There are tons of craft sites out there that offer lots of free how-to tutorials and tips: http://www.u-createcrafts.com/ http://www.thecraftycrate.blogspot.com/ http://www.imperfectlybeautifulms.blogspot.com/ http://www.allthingsthrifty.blogspot.com/

These are just a few...

2) Buy Vinyl on line for much cheaper. http://www.expressionsvinyl.com/ is a great site

3)If you have a Cricut, ebay has the best prices for cartridges, just remember bid in the last minute of the sale and put the highest amount you would bid on that item for. You won't have to pay that much if no one else bids it up.

EX: Current bid is at $23.95, your highest bid is $30.87, no one else wants to pay more than $26.00 so you pay $26 instead of $30.87 even though you would have paid that much if it came down to it.

http://www.memorymiser.com/ is having a sale on cricut cartridges too if you don't want to bid on them. They are moving whare houses and selling off inventory.

4) if a rocking(or crib or anything else) chair breaks, think creatively and use the parts for some crafts. Repurpose it! I'm still thinking on what I'll do with my rocking chair.

I know this is simple and short but I am hoping to try and post more helpful crafting and budgeting tips again... wish me luck that life allows for it! Pin It

Tuesday, August 24, 2010

I need some redo/craft Inspiration...

So this is going to sound a bit funny but seriously, I just can't throw it out. We got this cute rocking chair for free and it has been nice to have. Apparantly, my kids are a bit too rough on things and well, the rocking chair started to break and we said ok, we can fix that, well before getting to fix it, this is how it ended up.

It is broken really badly at the joints but when I saw the back of the rocking chair laying there, I thought, there has got to be something cute I can do with that! Ofcourse it'll take some painting and distressing/antiquing but I'm game for that.
My ideas so far...
The not so exciting, a Christmas Card Holder, it could be cute but I am hoping for something more useful.
A little bit better, a pot rack for the kitchen, inspiration coming from this over at So You Think You Can Decorate The only problem is I can't drill into the cement ceiling in my "just awesome" apartment.

I think for the base it will either become a table or stay as a rocking backless chair, but with a little TLC. And I am still waiting for more exciting ideas to come along....PLEASE HELP!
Pin It

Wednesday, May 26, 2010

Antuiqued Turquoise and Quatrafoil Topped Entertainment Center

Ok so first of all, I apparantly can not remember to get a good before shot so this is all I have for you.

This entertainment center was given to us from my husband's parents. I never saw any potential in it and had really thought to get rid of it quite a few times.
That was until I became obsessed with all these awesome craft blogs popping up. So for this project I got my inspiration from All Things Thrifty and the CSI Project.
I just LOVE anything turquoise or "ocean blue breeze" as the spray paint can said the color was.
I first did a quick sand job, very quick. Then I dented it up a bit with a hammer and scratched it too. I used about 5 cans of spray paint. I followed that up with more sanding. I really wanted a rustic worn look. After that I used an antiquing glaze all over it.
Next I used the free download for a Quatrafoil stencil and then cut it out.
This part took the longest.

I painted it by hand with a brown craft paint. It took about 4 hours because of the detail on it.
I then followed that up with a bit more sanding to make it more worn again.
After all was dry I put on the finishing glaze and Vwalla!
The greatest part about the project is it is imperfectly perfect. Any "mistakes" made it that much better! And it was all for about $30!

We love it and it brings my room together a bit more with my DIY lamps and love sac. Although I am not the best at photography, sorry.
Thanks to All Things Thrifty and CSI Project for inspiring me.
Visit thecsiproject.com

Pin It