
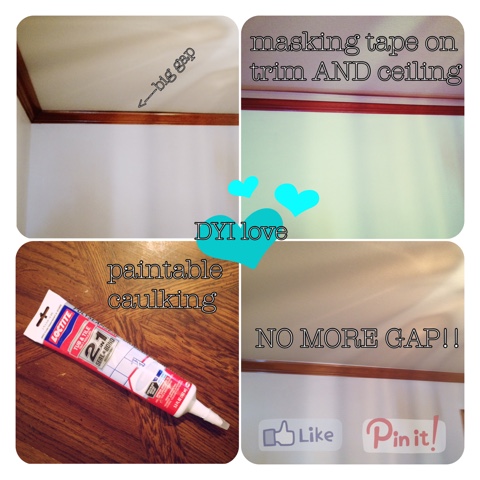
Hi all! Long time no see... Uh...rrr... I mean type? Blog? Well, however you say it, I have been starring at this HUGE gap between the crown molding and ceiling in our dining room for way too long! It's not nearly as noticeable in the picture though.
It bugged me from day one of being in our new home but alas it was NOT near the top of our to do list. Well, today, after a very eventful morning, I found myself sitting in the afternoon once again starring down the GAP! Dark ugly space where bugs can hide... Or even a mouse??!! Ok probably not but my dear husband spotted, caught, and discarded our first mouse ever today so I have creepy crawly things on the mind. Yuck!!! Probably why I HAD to fix the gap PRONTO!
(P.S. If you have a mouse issue- buy the sticky trays! Totally worth it!)
So it's pretty easy to get a straight caulking line if you didn't know! Took me some learning at first but I've got it down now.
Here are my quick steps:
(as shown in the pictures)
Step 1: tape off the trim AND the ceiling(or wall if that's what you are working with) Make sure to lay the tape straight(no wrinkles in it)
Step 2: Use PAINTABLE caulking. Cut the small tip off at an angle. There are usually 3 little cutting lines on the top, big to small, you want the smallest. Trust me. Do a little length of caulking then smooth it out with your finger-yes they are they best tool for this. You'll quickly noticed just how much extra is on your fingers, add that to the uncaulked area...no wasting here.
Step 3: Pull off the tape BEFORE caulking is dry. This ensures a nice smooth line! Then stare at that gorgeously straight caulking line and NO more gap!
**if your gap is as big a mine was, you'll need to do a second(maybe even third) line of caulking after the first.
Now Go! Fill those gaps!!!
Tweet
Pin It


